Warning: Before installing or removing actuators, ensure that the equipment is completely unplugged from the power source. This is essential for your safety and to avoid any potential damage to the equipment.
Tools needed
| Philipps #2 screwdriver |
Removal Step-By-Step
| Step 1: |
Remove the screws holding the ACM plate. Then remove the remaining screws from the actuator plate and gently pull the actuator plate from the ACM. |
| Step 2: |
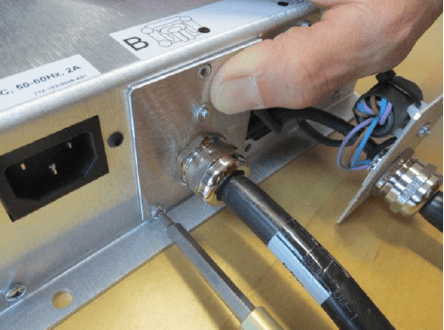
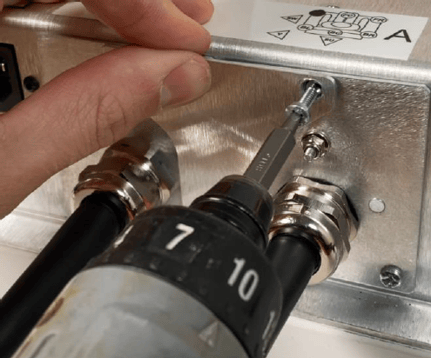
Each actuator is identified by a letter. Each actuator has two cables: a power cable and a signal cable.
|

Installation Step-By-Step
| Step 1: |
Plug both power and signal cables in the ACM.
|
| Step 2: |
Install the actuator plate by fixing it in place with a screw.
|
| Step 3: |
Install the center ACM plate with a screw.
|