How to replace a mechanic on an actuator (video)
Tools required
 |
Hexagonal screwdriver
|
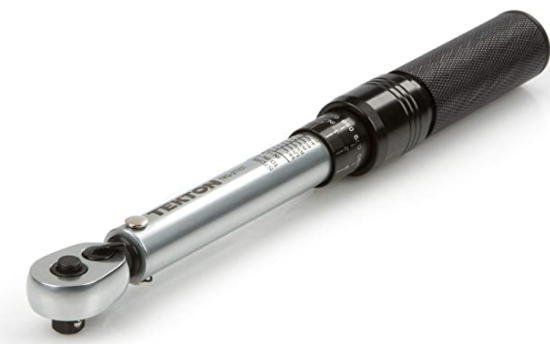 |
Torque wrench |
Step-by-step
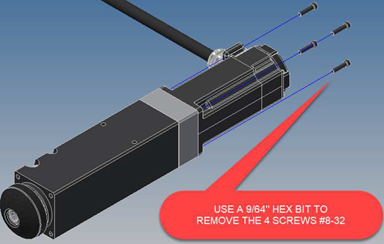
| Step 1: |
Remove the 4 Allen screws #8-32 with the 9/64 hex bit screwdriver.
|
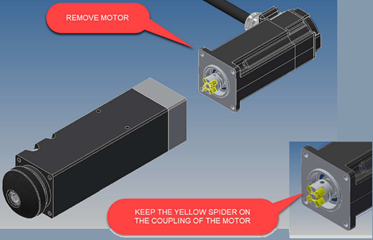
| Step 2: | Split motor from mechanic. Note: Keep the yellow spider on the coupling of the motor.
|
| Step 3: | Install new motor on the mechanic and align the yellow spider correctly. Note: Hold anchor with your finger to prevent ballscrew from turning while mating the motor to the housing; this will ensure the couplings stay aligned. Note: Make sure the holes on the body align with the ones on the actuator bracket.
|
| Step 4: | Use the T-handle hexagonal screwdriver to install the mechanic on the motor with the 4 screws.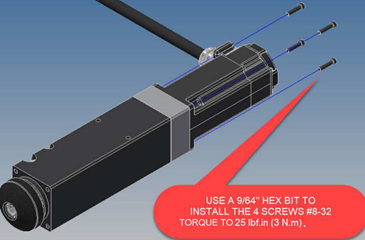 |
| Step 5: | Check correct operation of the actuator by extending and compressing the piston with your hand. |

How to replace a mechanic on an actuator